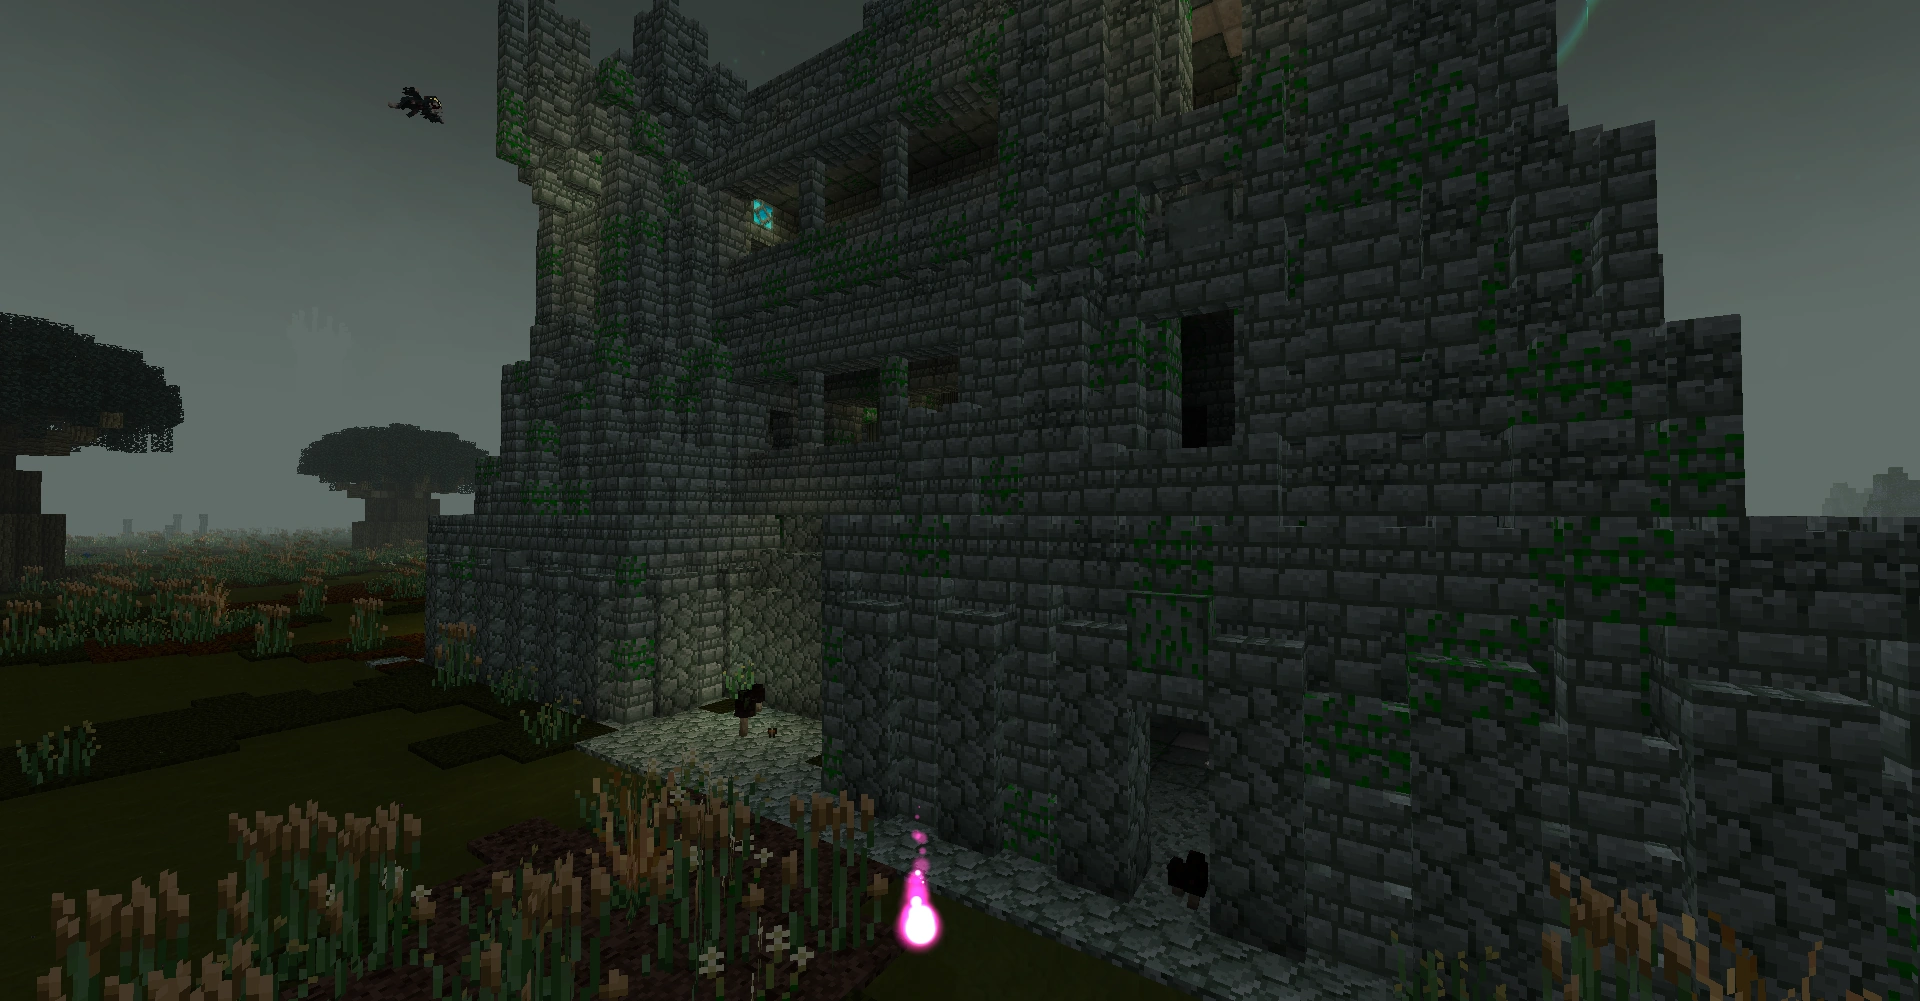
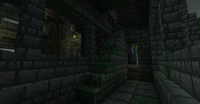
The main entrance of the Fortress

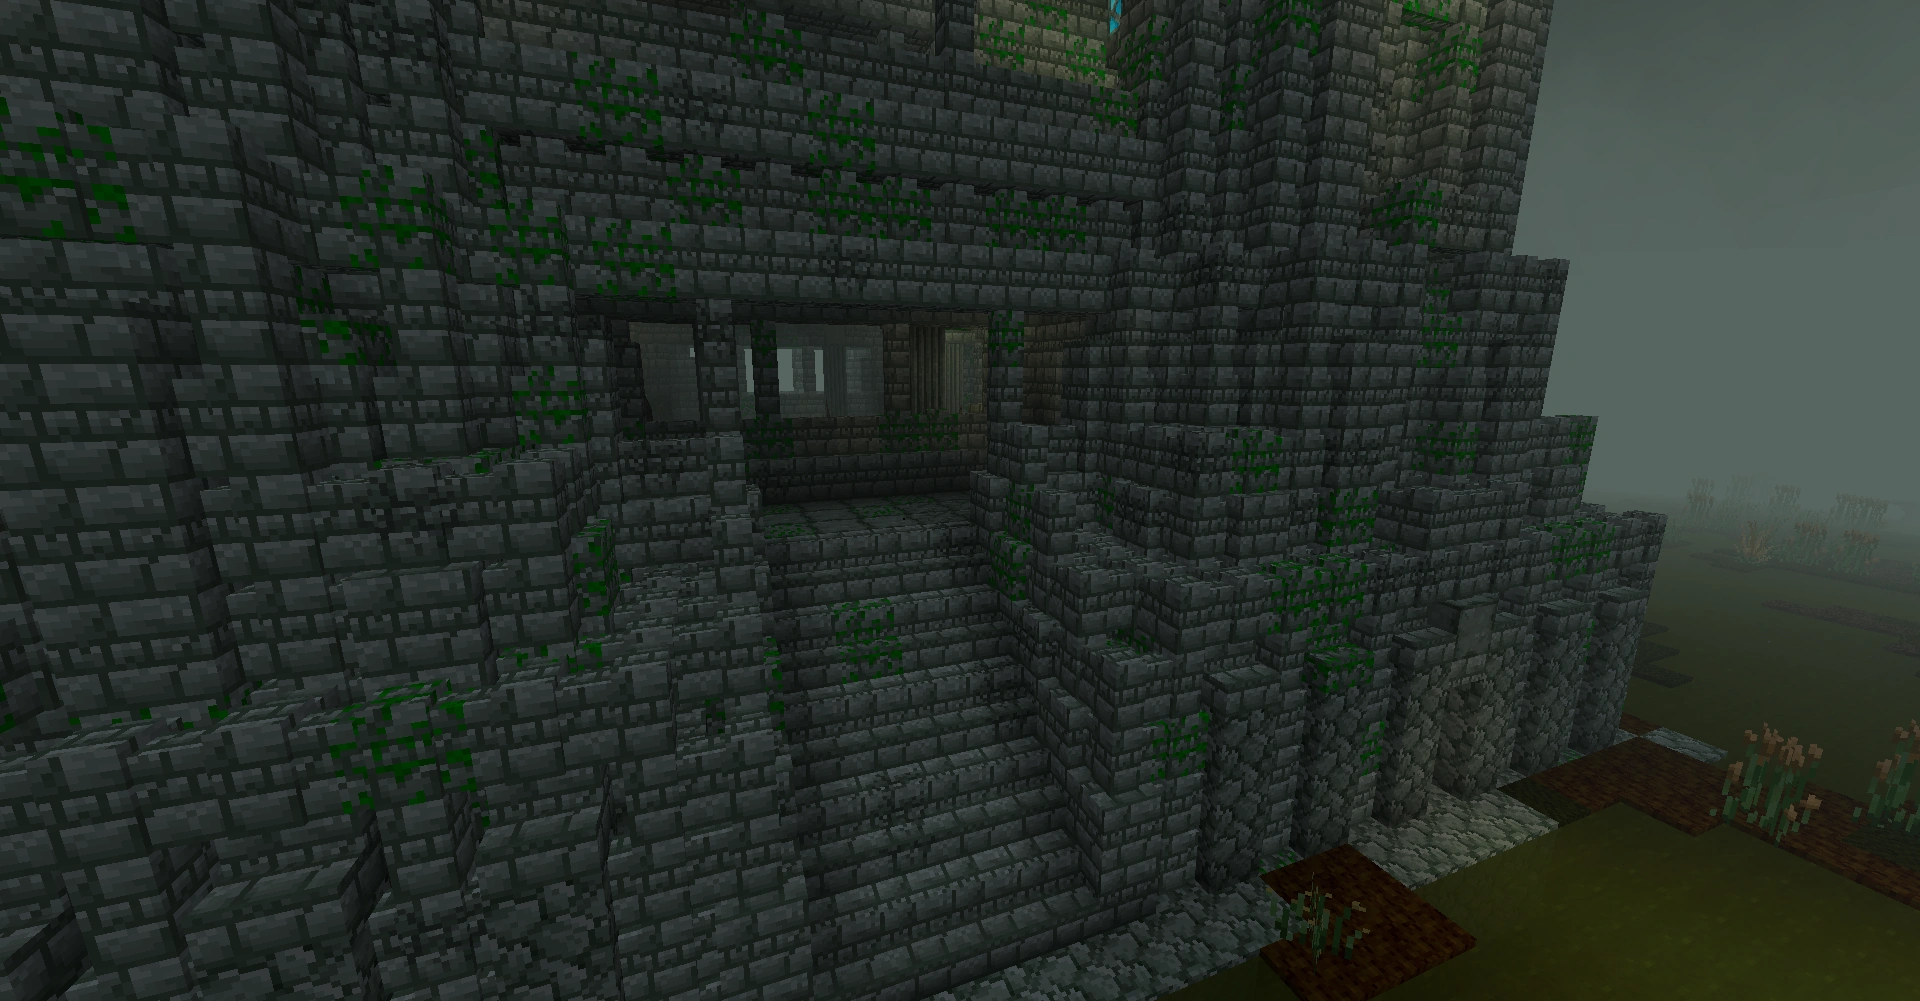
A side of the base of the Fortress
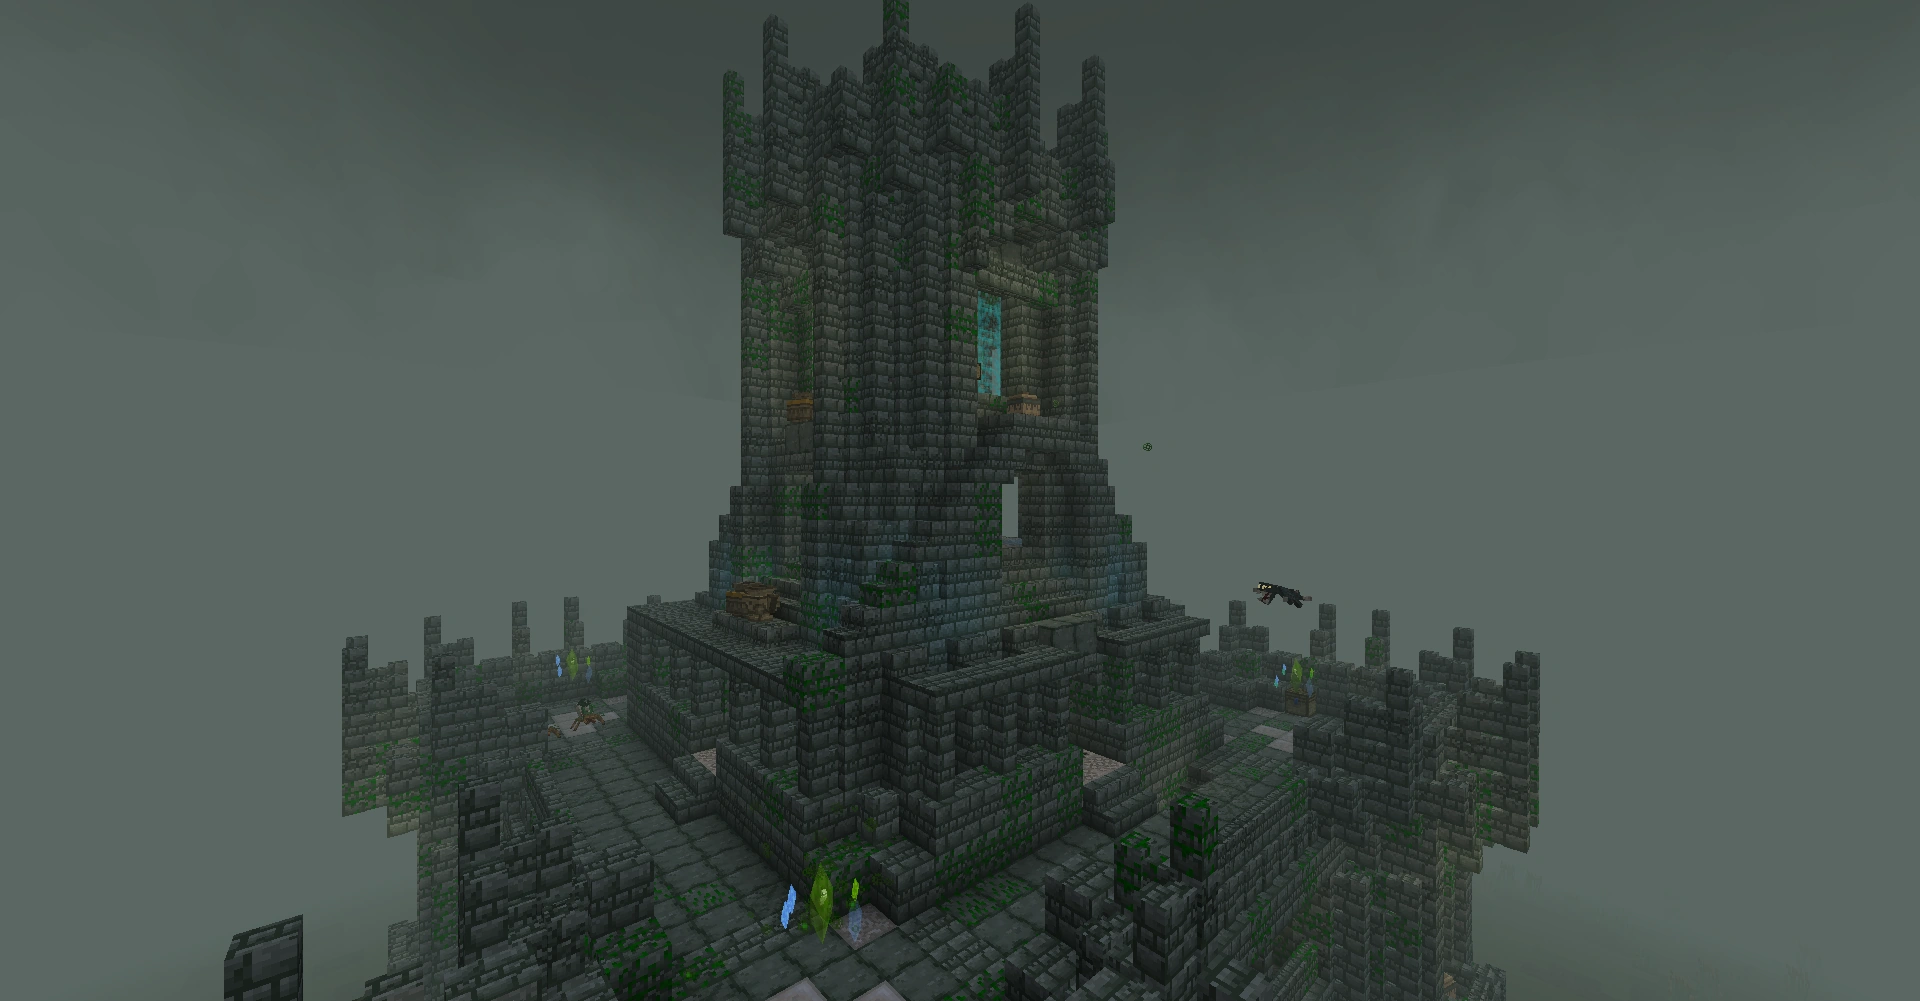
The upper portion of the Fortress
"Beware that, when fighting monsters, you yourself do not become a monster... For when you gaze long into the abyss, the abyss gazes also into you."
The Wight Fortress is a massive castle structure that generates somewhat rarely in Marsh biomes. It is key to Betweenlands progression, and generally great preparation should be taken before attempting to conquer it.
The Wight Fortress has a world location that identifies the area it takes up, as well as a title that appears briefly to players who approach it. While in the location, the surrounding area will be covered in a light fog.
Most of the blocks of the Wight Fortress are protected from destruction by a ward that persists until the Primordial Malevolence, the boss at the top of the tower, has been defeated.
Composition[]
The Wight Fortress consists of:
 Betweenstone Bricks (all variants)
- Betweenstone Brick Slab
- Betweenstone Brick Stairs (all variants)
- Betweenstone Brick Wall (all variants)
- Betweenstone Tiles (all variants)
- Betweenstone, on the first floor
- Smooth Betweenstone, on the first floor (both variants)
- Smooth Betweenstone Stairs, on the first floor (both variants)
- Betweenstone Pillar, on the first, second and third floors
- Glowing Betweenstone Tile, on the third and fourth floors and the Armory
- Polished Limestone, on the second, third, fourth and sixth floors
- Chiseled Limestone, on the second, third and fourth floors
- Limestone Brick Slab, in a secret room
- Betweenstone Bricks Mirage, in a secret room
- Block of Octine, in a secret room (unprotected)
- Block of Syrmorite, in a secret room (unprotected)
- Block of Valonite, in a secret room (unprotected)
- Possessed Block, on the second and third floors (unprotected)
- Weak Blocks, on the third and fifth floors (unprotected)
- Polished Limestone Spike Trap, in the Armory
- Item Cage, in the Armory (unprotected)
- Energy Barrier, blocking off the sixth floor
- Root, on the first and second floors (unprotected)
- Black Hat Mushroom, on the first floor (unprotected)
- Flathead Mushroom, on the first floor (unprotected)
- Bulb-Capped Mushroom, on the first floor (unprotected)
- Pot of Chance, on most floors (unprotected)
- Weedwood Chest, on most floors (unprotected)
- Weedwood Sign, on the sixth floor
- Stagnant Water, in a pool on the first floor
- Monster Spawner, on most floors (unprotected)
[]

A corner room on the first floor

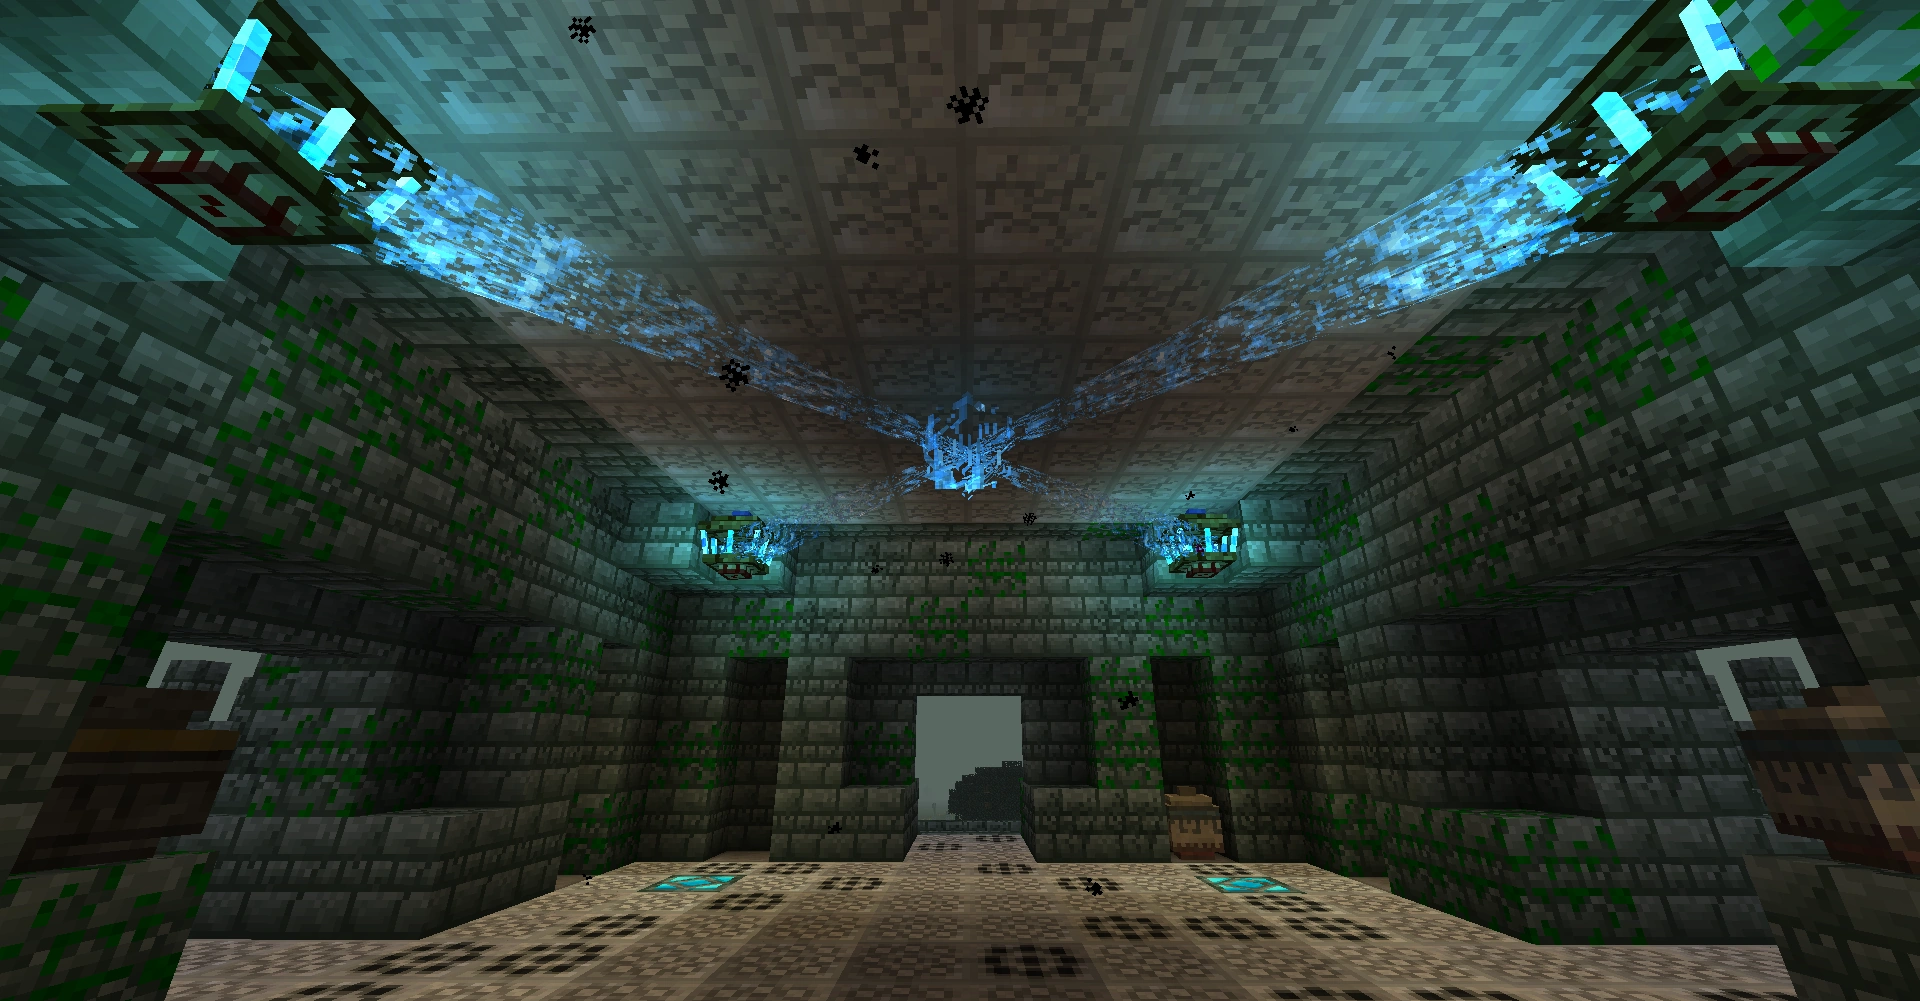
The center room of the first floor
A corner room on the second floor

The staircase on the second floor, leading to the third

A corner room on the third floor


A corridor on the third floor, with weak tiles on the floor
A corner section on the fourth floor
The Armory

The fifth floor

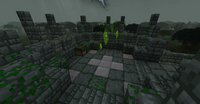
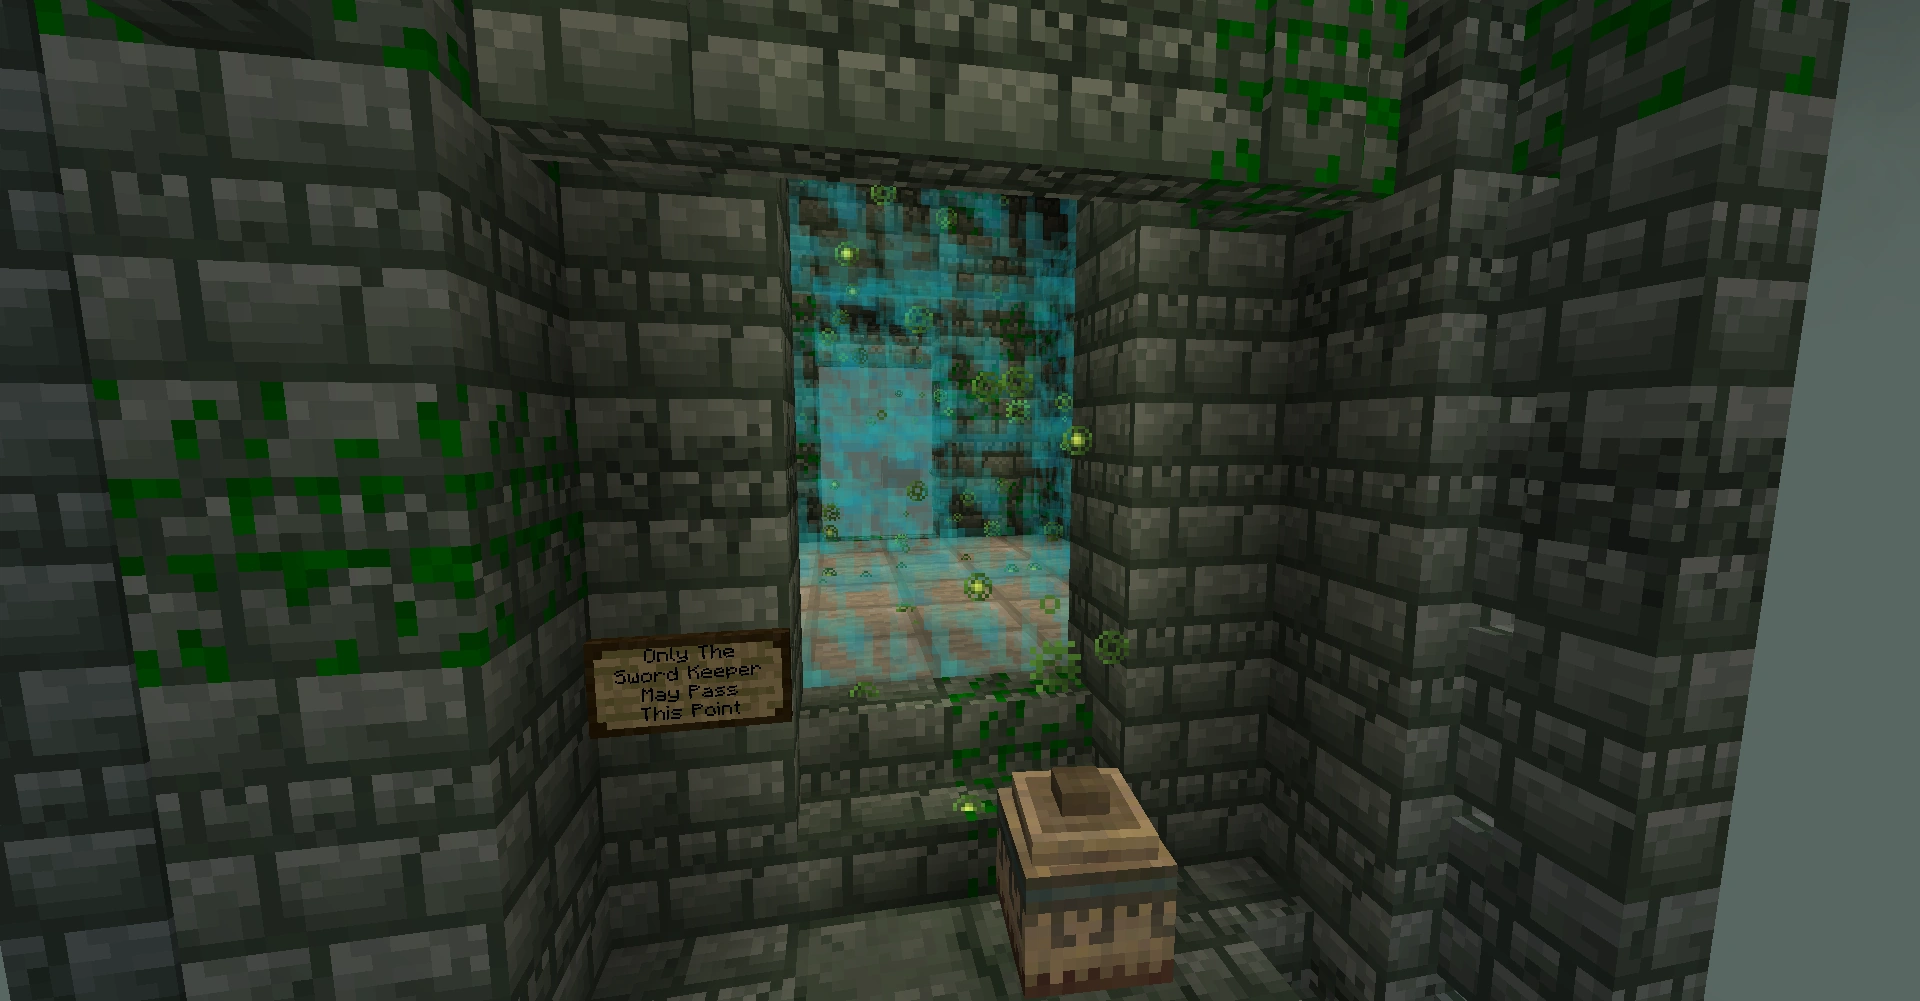
The sixth floor, protected by Energy Barriers

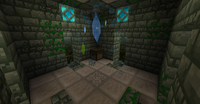
Staring into the "eye"
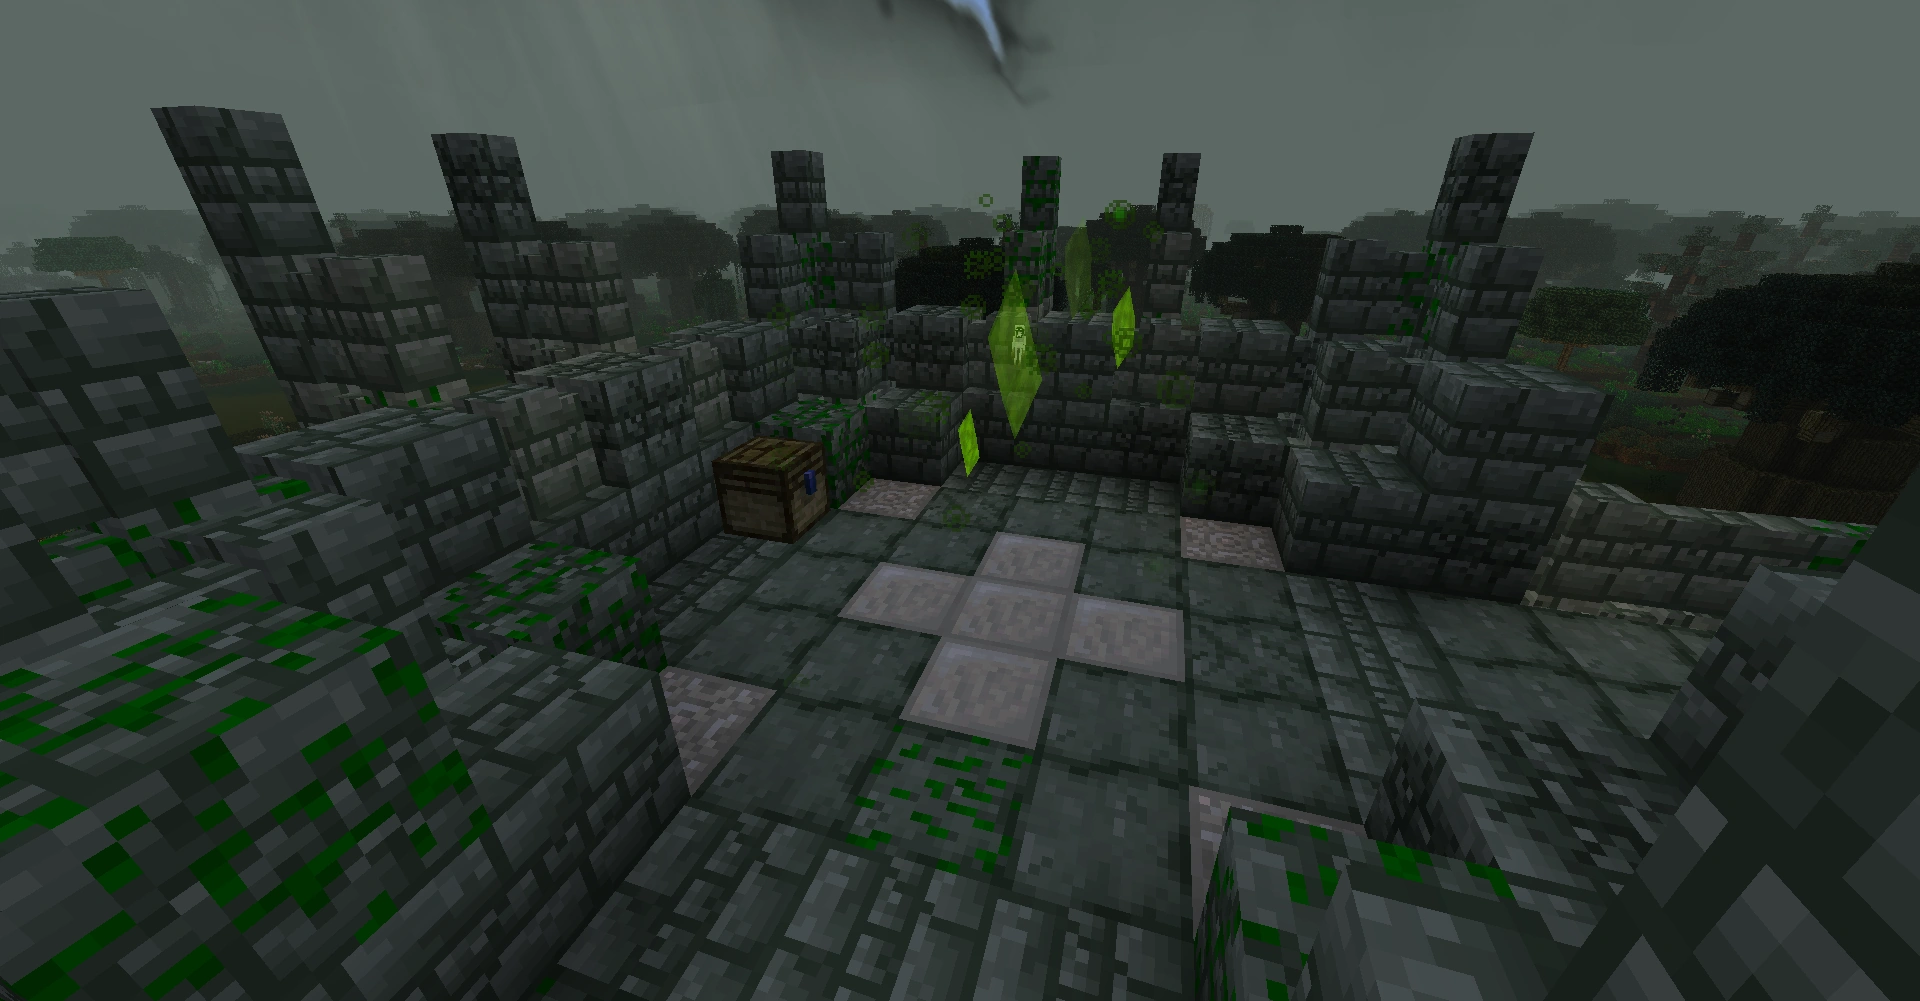
Fighting the Primordial Malevolence
The Wight Fortress contains a multitude of features and floors, many of which contain traps or other important details.
First Floor[]
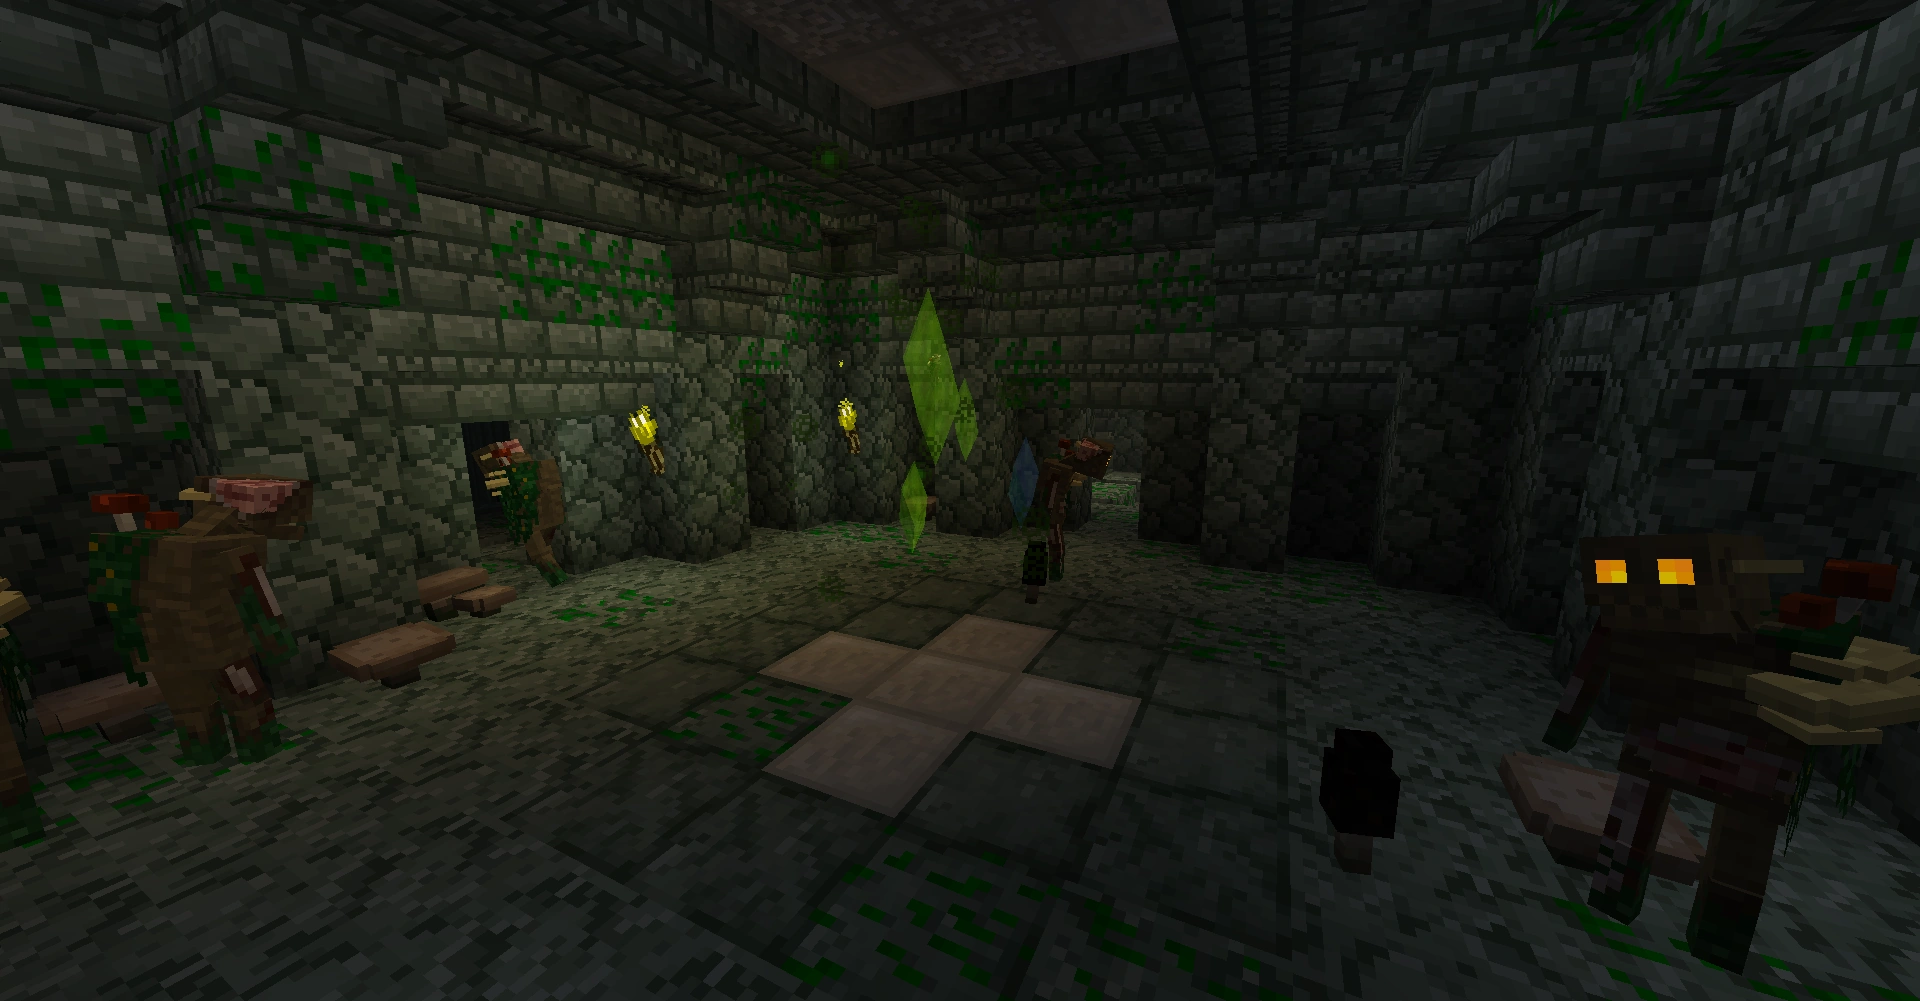
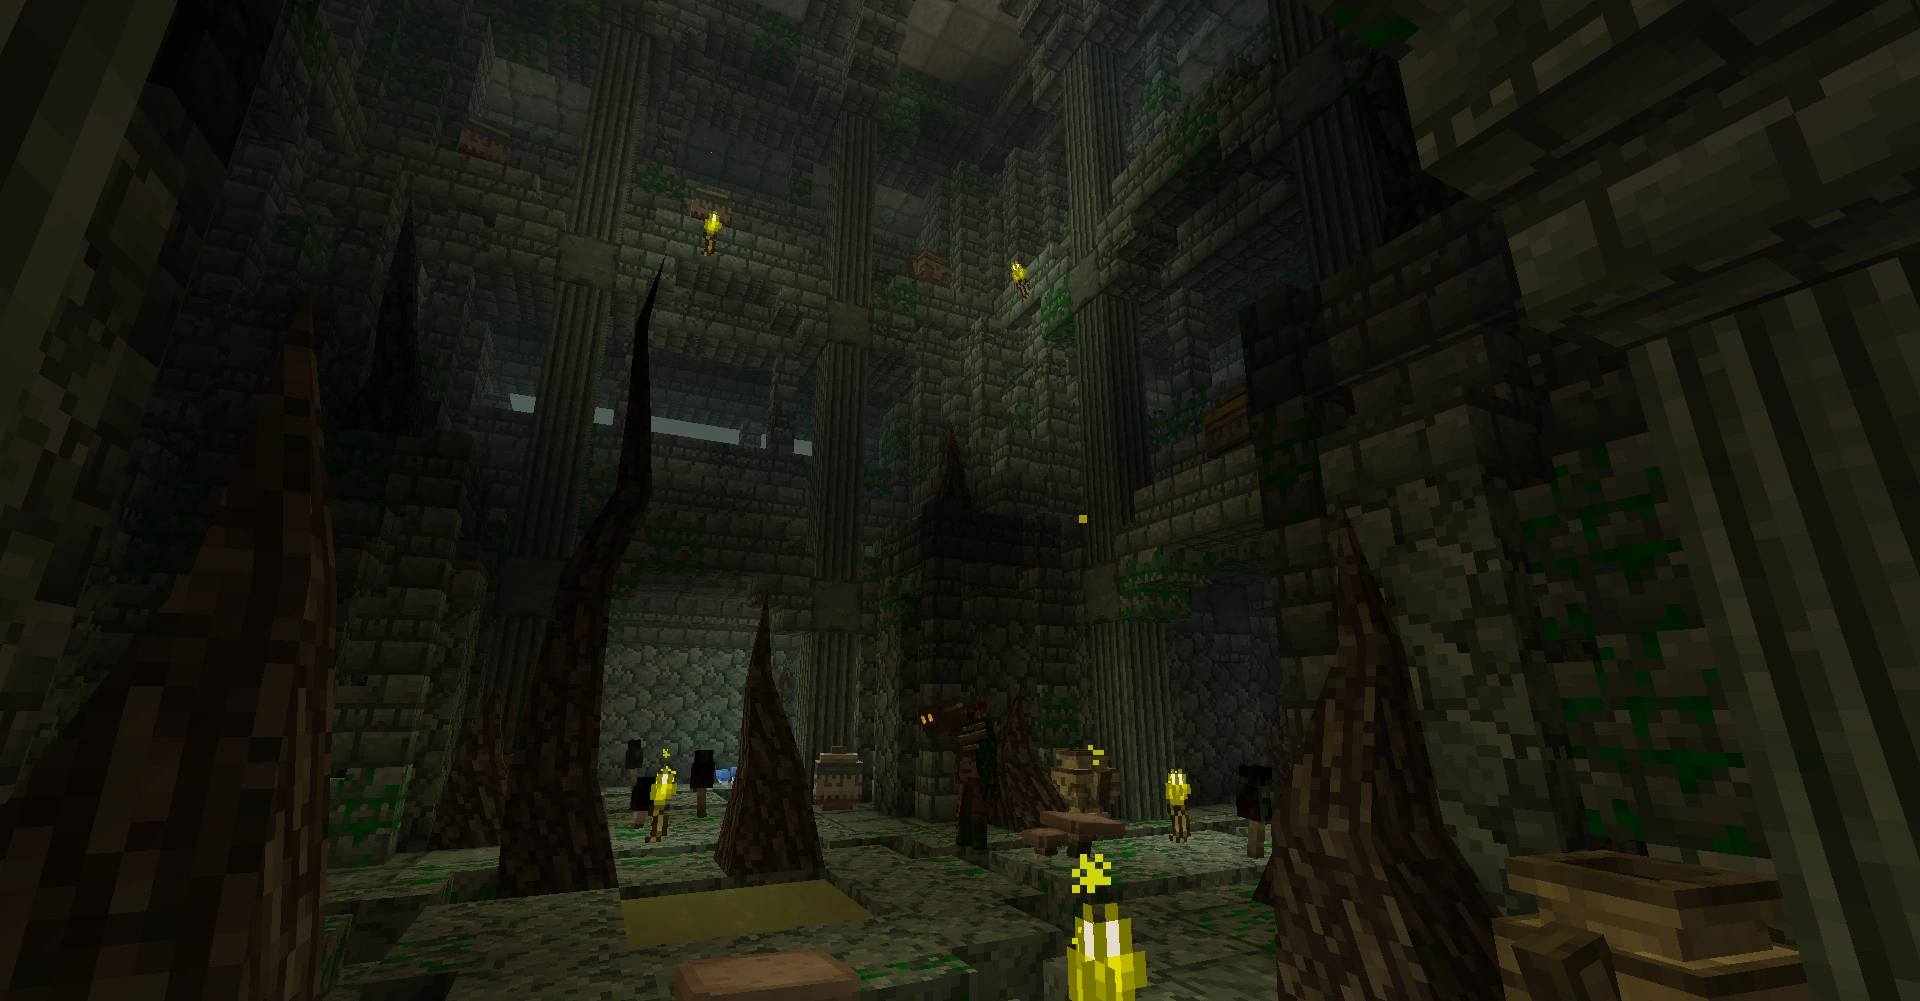
The first floor can be accessed through small entryways in the sides of the fortress. This bottom floor has four corner rooms, some of which have Monster Spawners that can spawn swamp hags, pyrads and other hostiles. These rooms lead out into the centre room, which is so high it takes up multiple floors. This room also has a well of stagnant water at its centre. in addition there are two secret rooms on this level. pots of chance can be found placed throughout the fortress.
Second and Third Floors[]
The next two floors each consist of four corner rooms that are connected by side corridors. The corner rooms often contain Monster Spawners.
The second floor can only be accessed via the front staircase of the Fortress, which is considered its official entrance. On this floor, Possessed Blocks hide along the corridors, bringing skeletal spectres out of the walls to lash out at players who walk by them. At the back corridor of this floor is a staircase which leads up to the third floor.
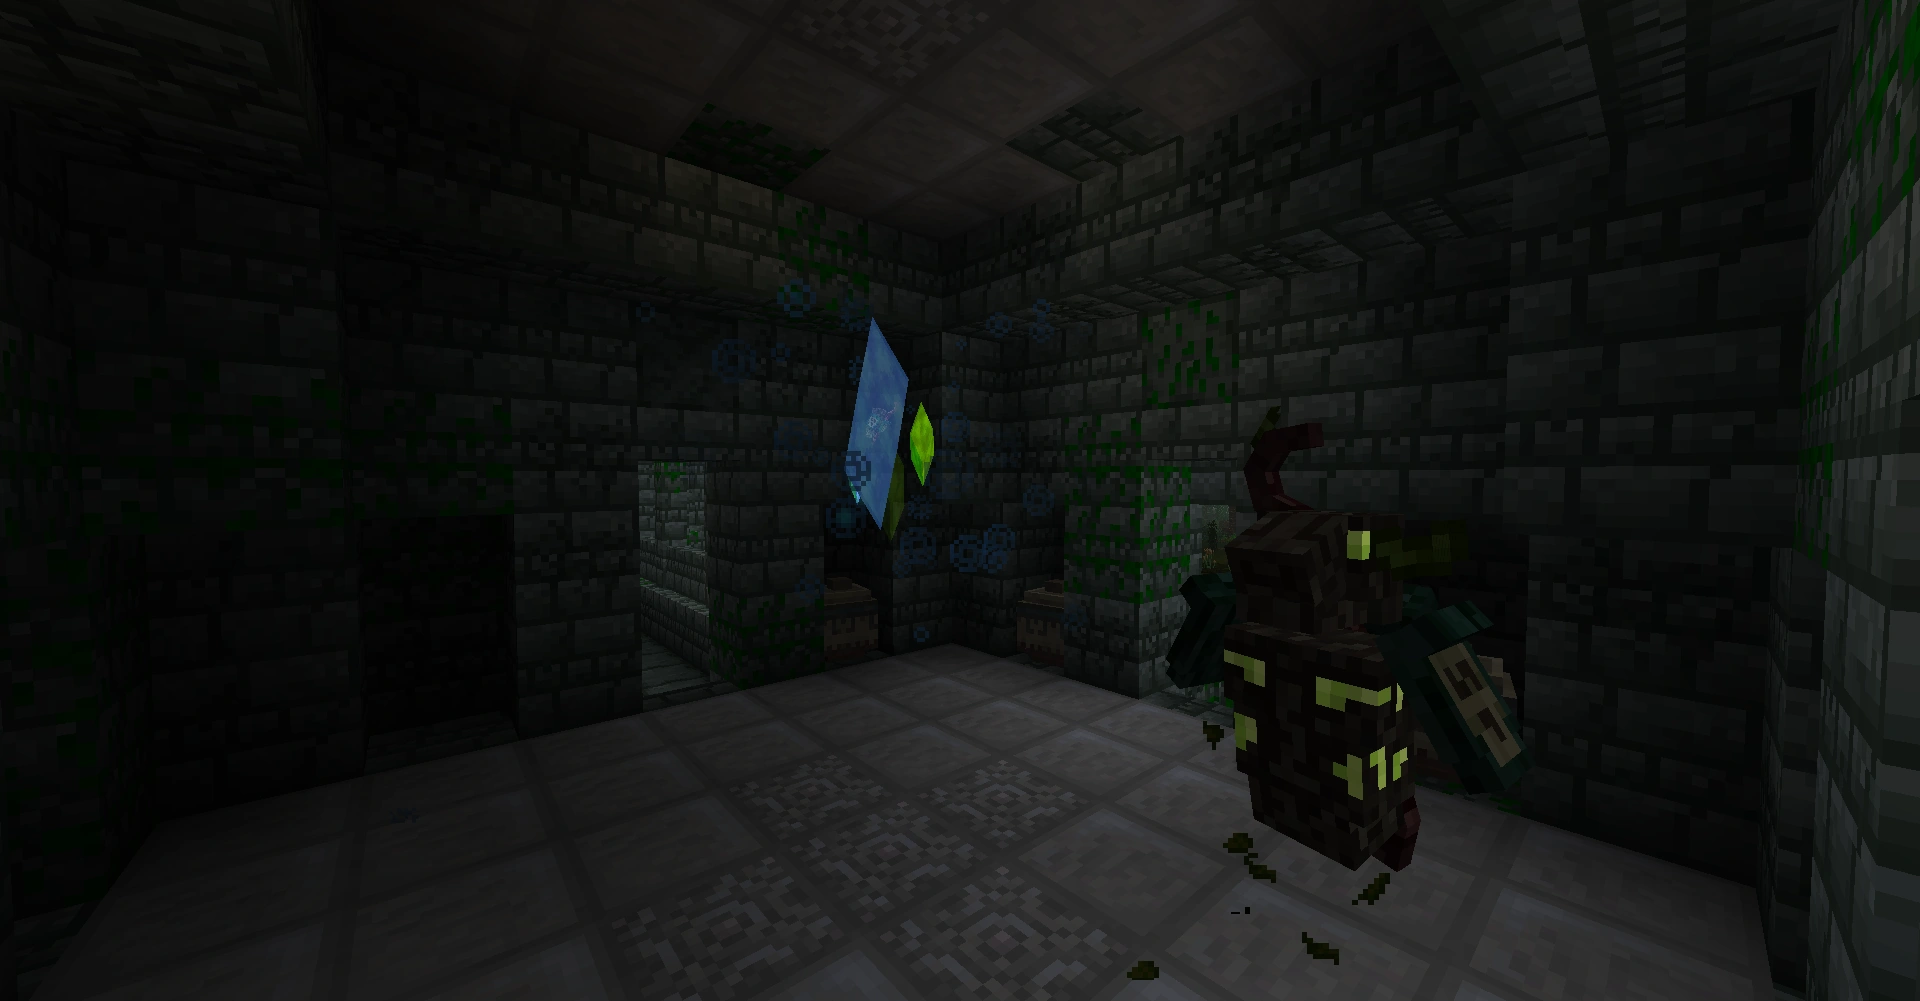
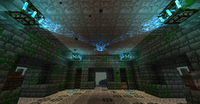
On the third floor, Weak Betweenstone Tiles make up the floors of the corridors, which crumble when players walk on them. The corridors can still be traversed safely by sneaking on top of the weak tiles, or walking along the side wall rims. Unlike the second floor, the corner rooms of this floor can contain Weedwood Chests. At the front corridor of this floor is a staircase which leads up to the fourth floor.
Fourth Floor[]
The fourth floor is the top of the main Fortress building, but the central tower continues upwards. This floor has much of a similar layout to previous floors, with four corner sections with Monster Spawners and Weedwood Chests. However, on each side of the central tower is an entrance to a special room called the Armory.
Armory[]
The Armory is extremely important to completing the Fortress. On the ceiling in each of the four corners of this room is an Item Cage directing an energy beam towards an orb in the center of the room. Each Cage contains a piece of a special weapon, known as the Shockwave Sword. The floor is completely lined with Spike Traps, which can shoot spikes out of the ground when players walk over them. The goal of this room is to navigate to each of the Glowing Betweenstone Tiles in the corners of the room and break the Item Cages above while standing on them. The Cages can only be broken if the player is standing underneath them in this way. As each Cage is broken, the item inside will be freed and will travel to the center orb. Once all items are freed and united, the central orb will disappear and leave behind the completed Shockwave Sword.
Fifth Floor[]
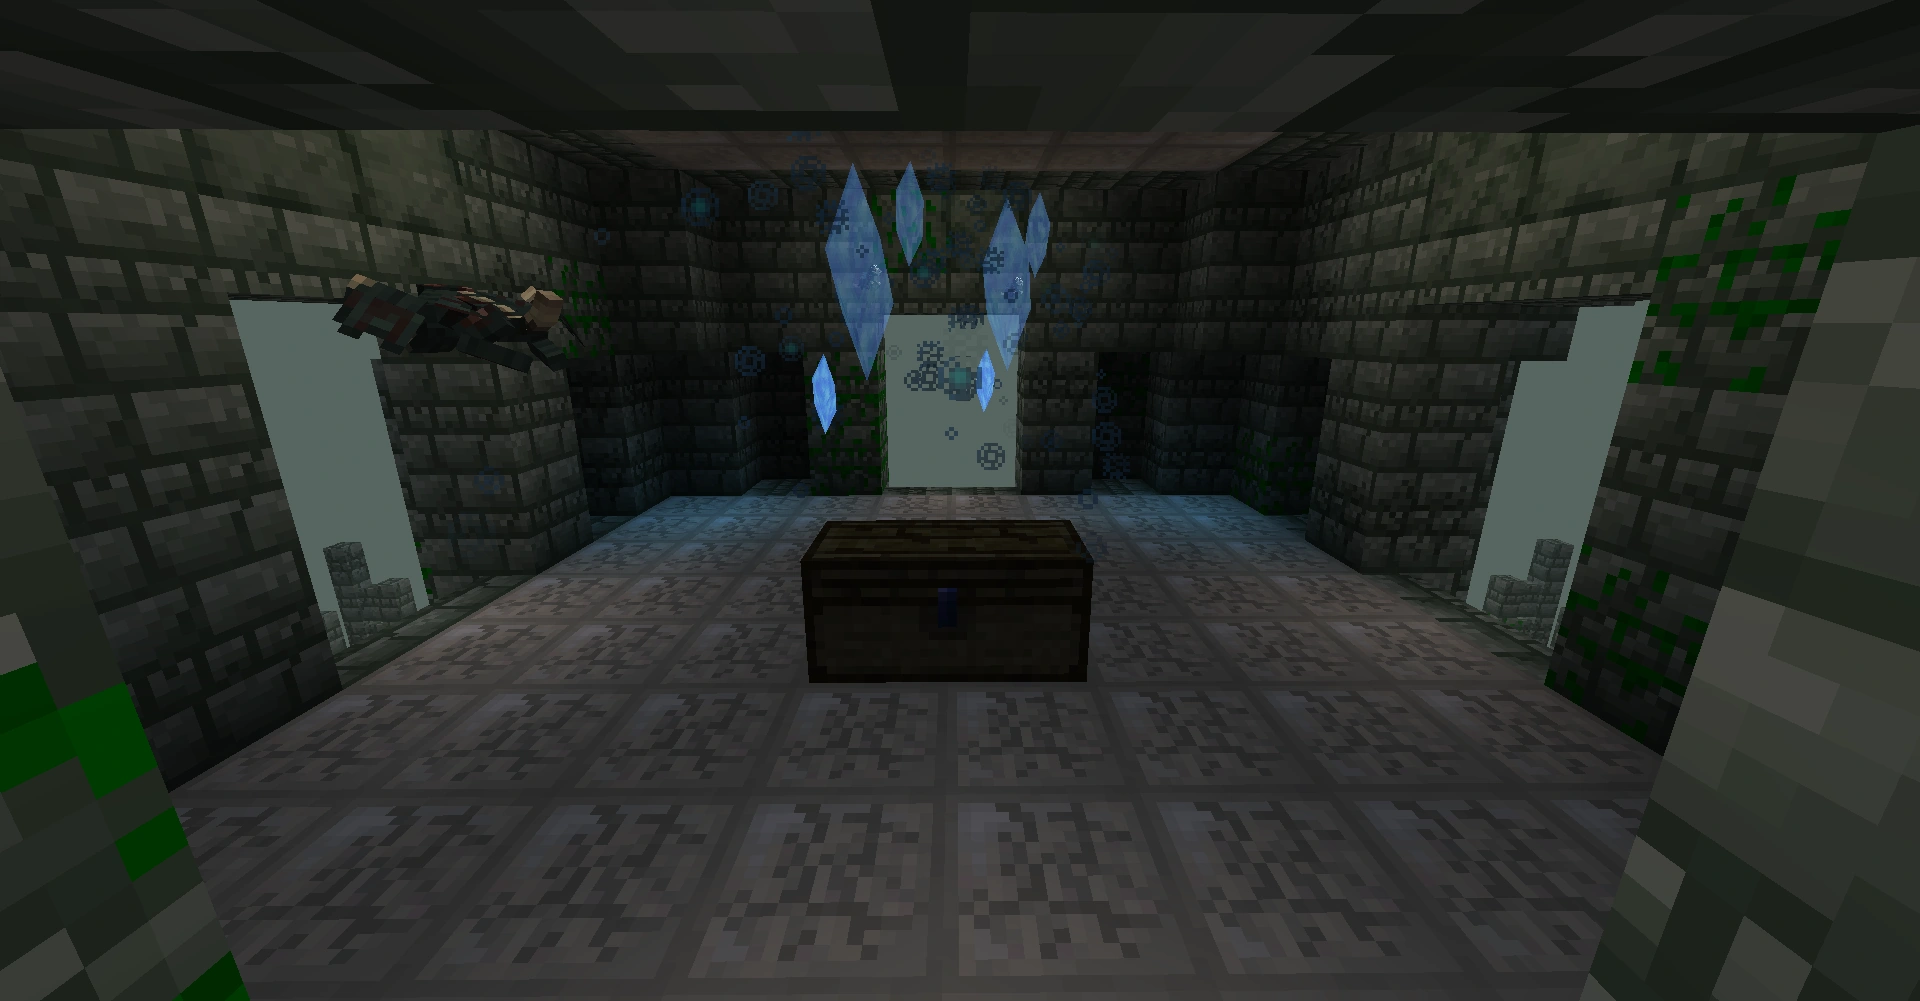
From here, a fifth room can be accessed by climbing a small staircase at the back of the Fortress's central tower. This room contains two Monster Spawners, a double Weedwood Chest, and a floor of Weak Polished Limestone, which crumbles in the same way as Weak Betweenstone Tiles do.
Sixth Floor and Top[]
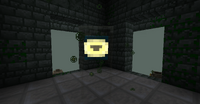
Continuing to follow the staircase up the central tower will lead to the sixth room, which will be blocked off on all sides by Energy Barriers. The Weedwood Sign at the main entrance will read "Only The Sword Keeper May Pass This Point." This means that a player can only pass through the Barriers if they are holding the completed Shockwave Sword in their main hand. Once they pass, all of the Barriers will shatter and a special quote will appear to entering players. In the center of this simple room is a strange, transparent "eye." When this eye is stared at directly for long enough, it will teleport the player to the very top of the central tower, and the boss of the Fortress will be spawned there.
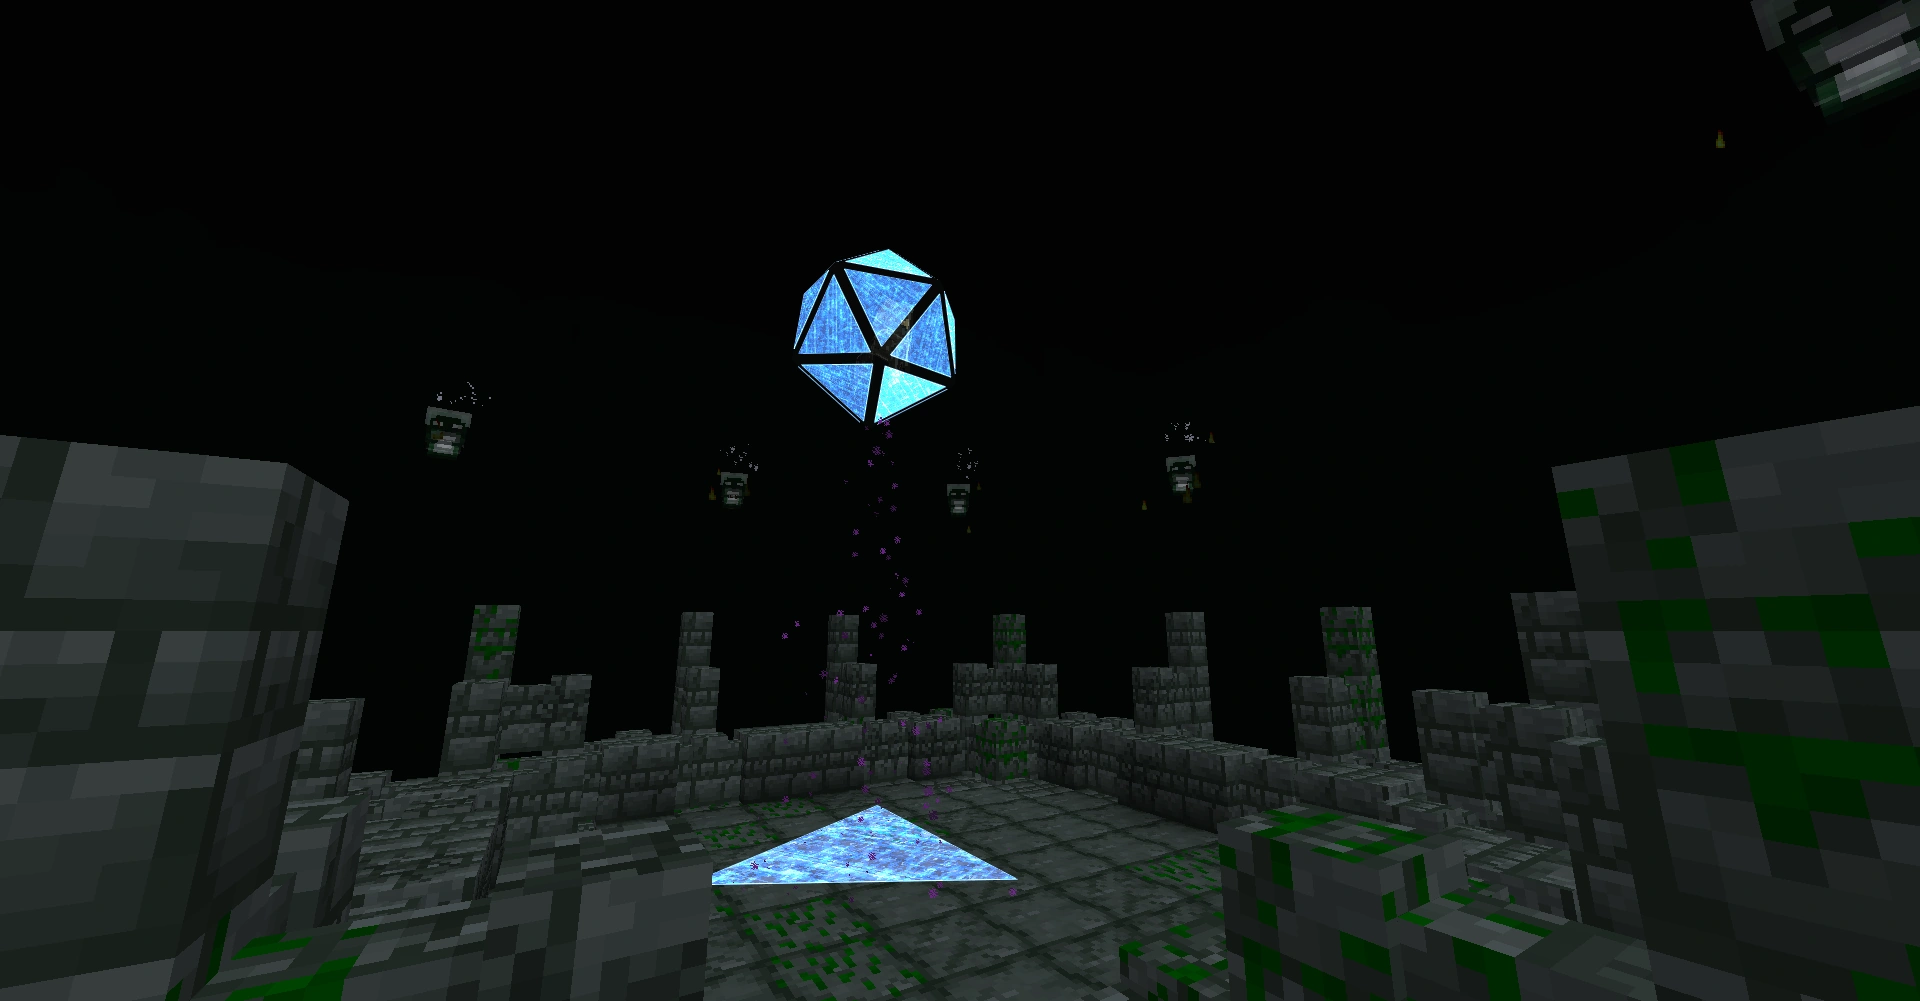
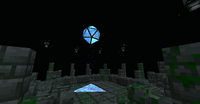
This boss is the Primordial Malevolence, a sphere of terrible and powerful energy. While fighting this boss, the area around the tower will be covered in a thick darkness, the ambiance will be replaced with boss music, and a boss title will appear briefly to players fighting it. The Malevolence cannot be struck normally; the green bullets it fires must be snagged by the player with a sword and shot back at the boss to remove parts of its shield and make it more vulnerable to attack. When it is finally defeated, the Fortress will be officially "completed."
To signify completion, the Fortress's icon on an Amate Map will be accompanied by a check mark.
Secret Rooms[]
There are a couple of secret rooms that can be found in the Wight Fortress. The details on finding them are hidden below in a spoiler tab; DO NOT open this tab if you do not wish to be spoiled.
| Secret Rooms (WARNING: SPOILERS) | |
|---|---|
| Secret Room | Picture |
| On the first floor, there is a back wall in the center room that appears to be made out of Betweenstone Bricks instead of the usual Betweenstone. There are two hidden entryways here concealed by Betweenstone Bricks Mirages, which can be passed through as if they were air. Behind these mirages is a small hidden room containing a double Weedwood Chest. |  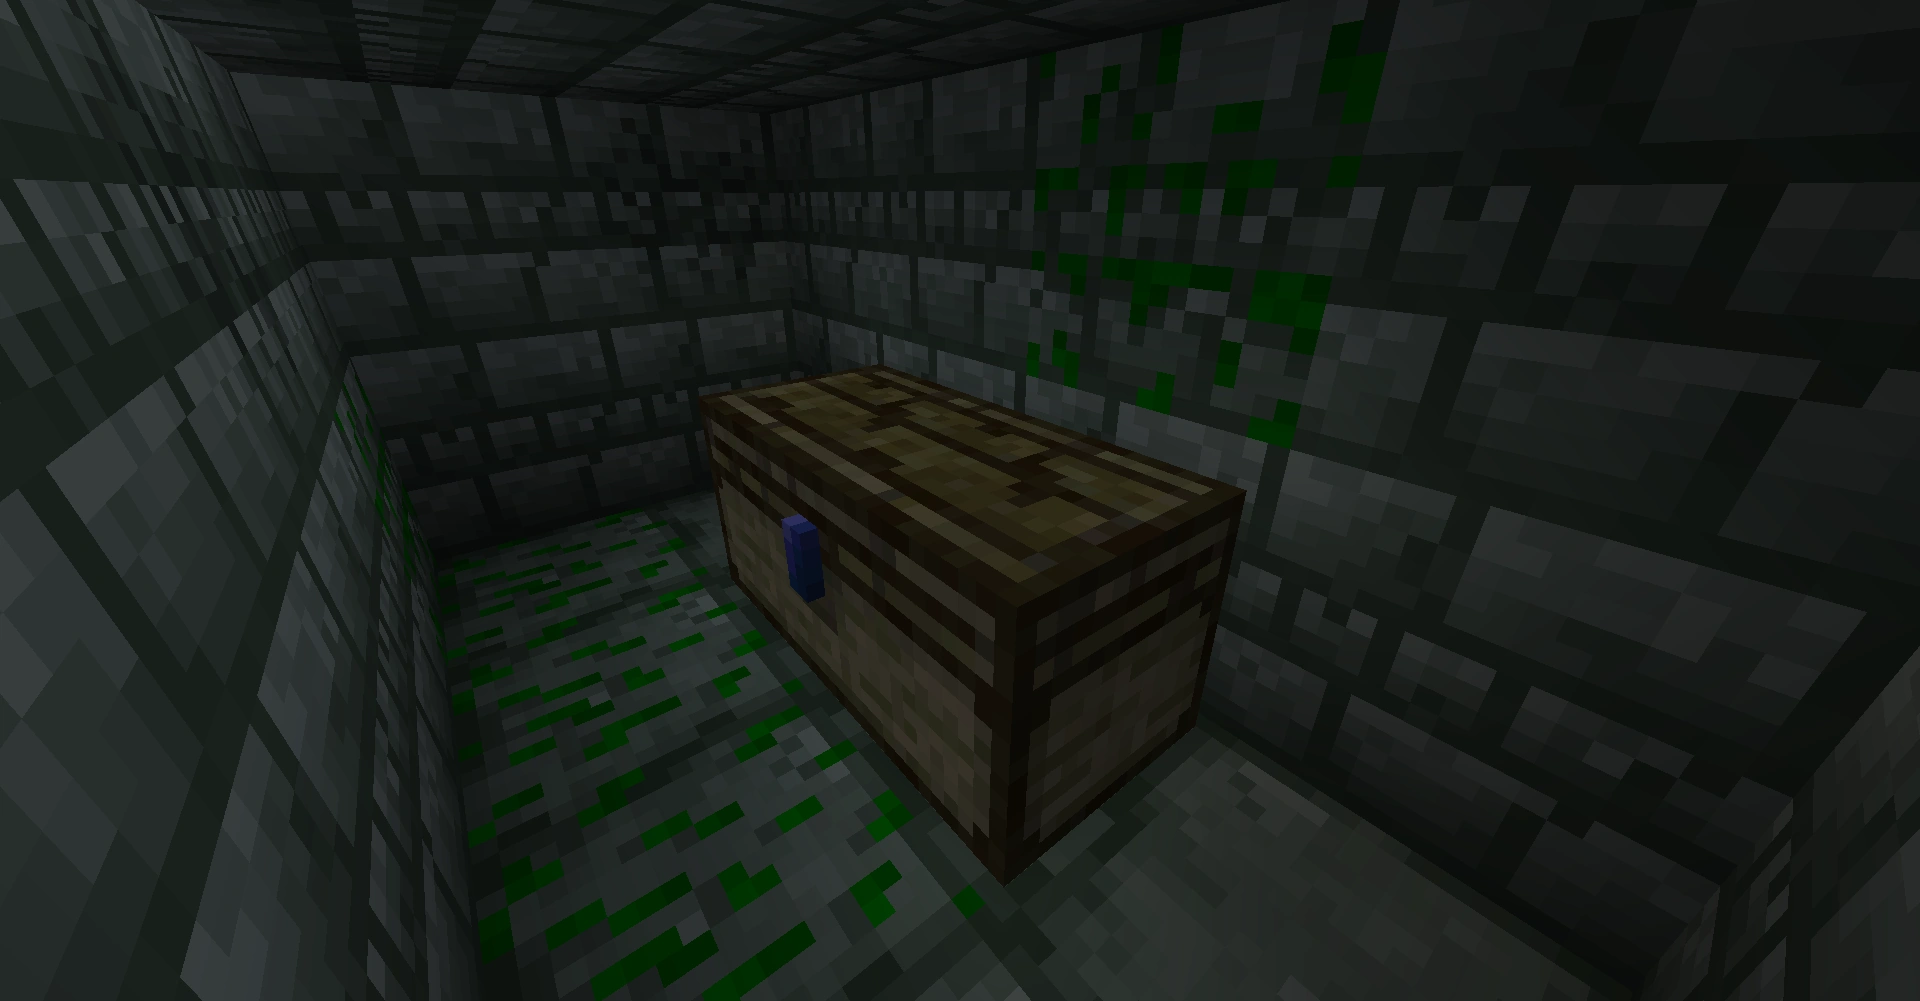 |
| The Stagnant Water pool in the center of the first floor can be jumped in, leading down into a hidden undercroft/basement room. A player going down here should eat Weeping Blue Pedals or a Weeping Blue Petal Salad to counteract the decay caused by the stagnant water. This room contains Pots as well as blocks of precious materials in its four corners, specifically Blocks of Octine, Syrmorite, and Valonite. There can also be Monster Spawners in these corners that spawn Swamp Hags. Note that jumping into the Stagnant Water to enter or leave the room generally means sacrificing your entire Decay meter. | 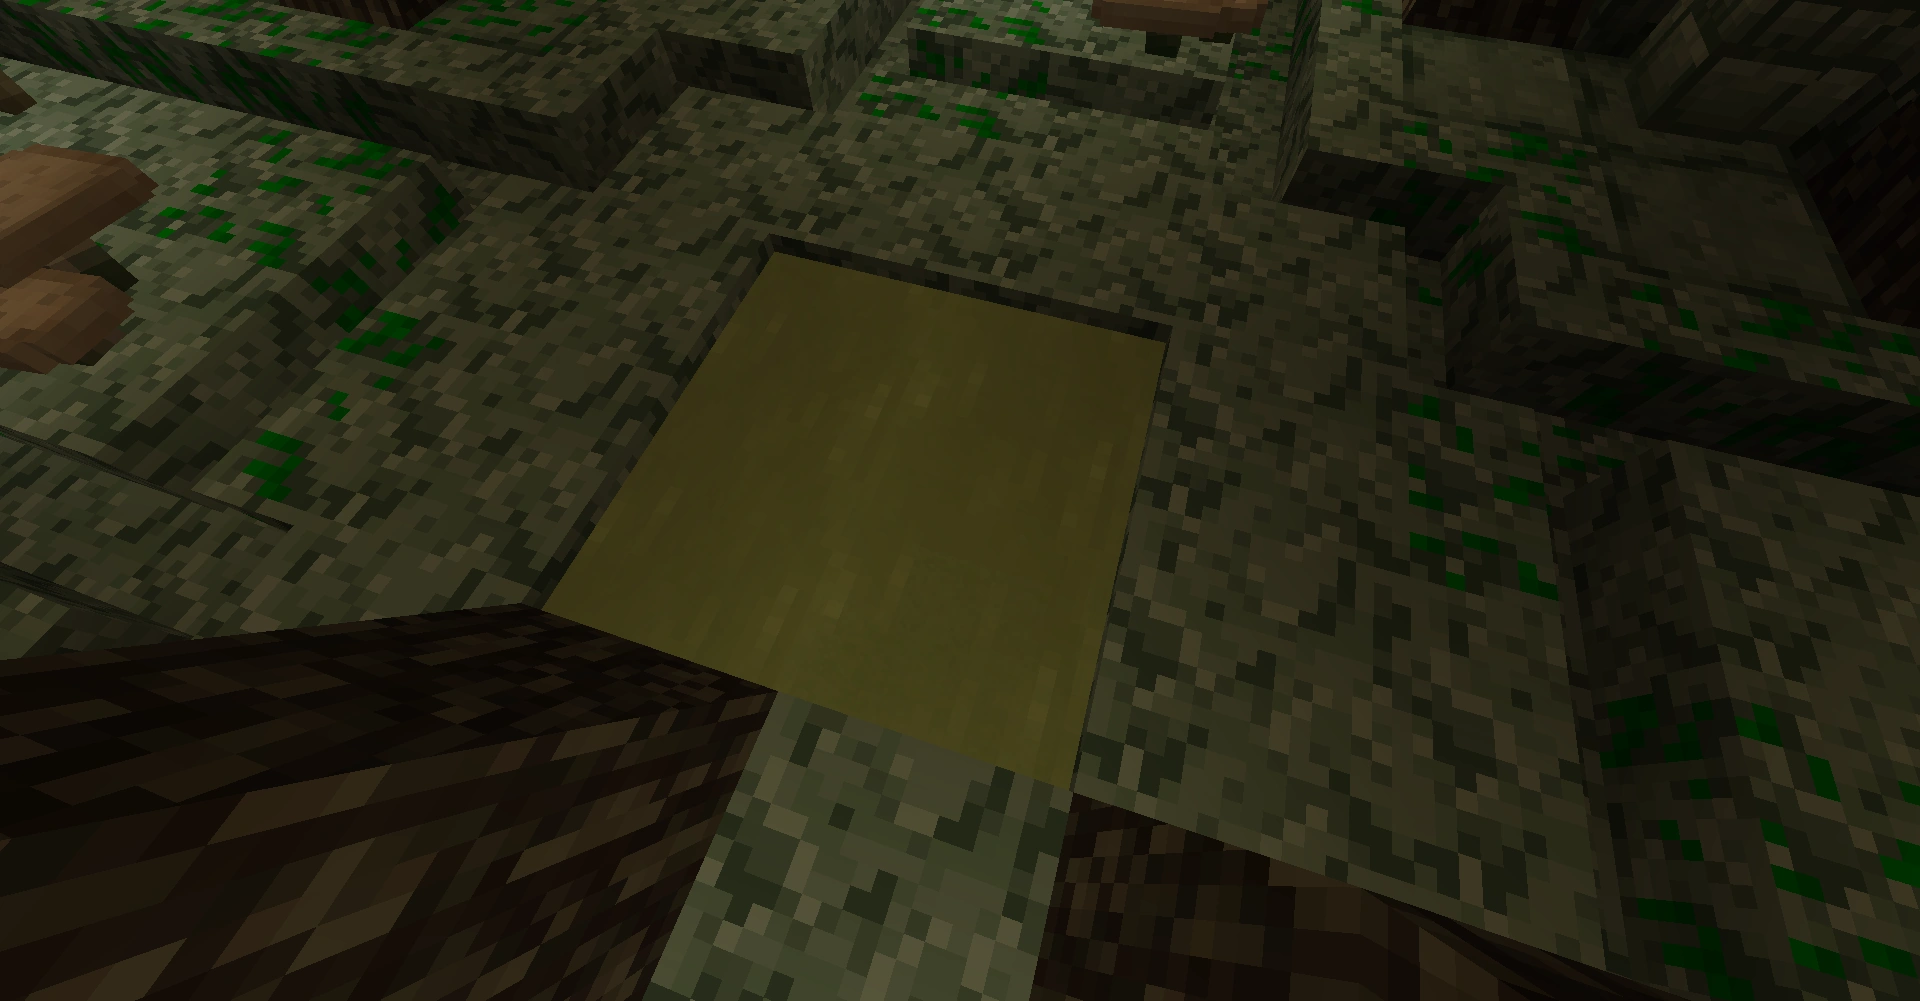 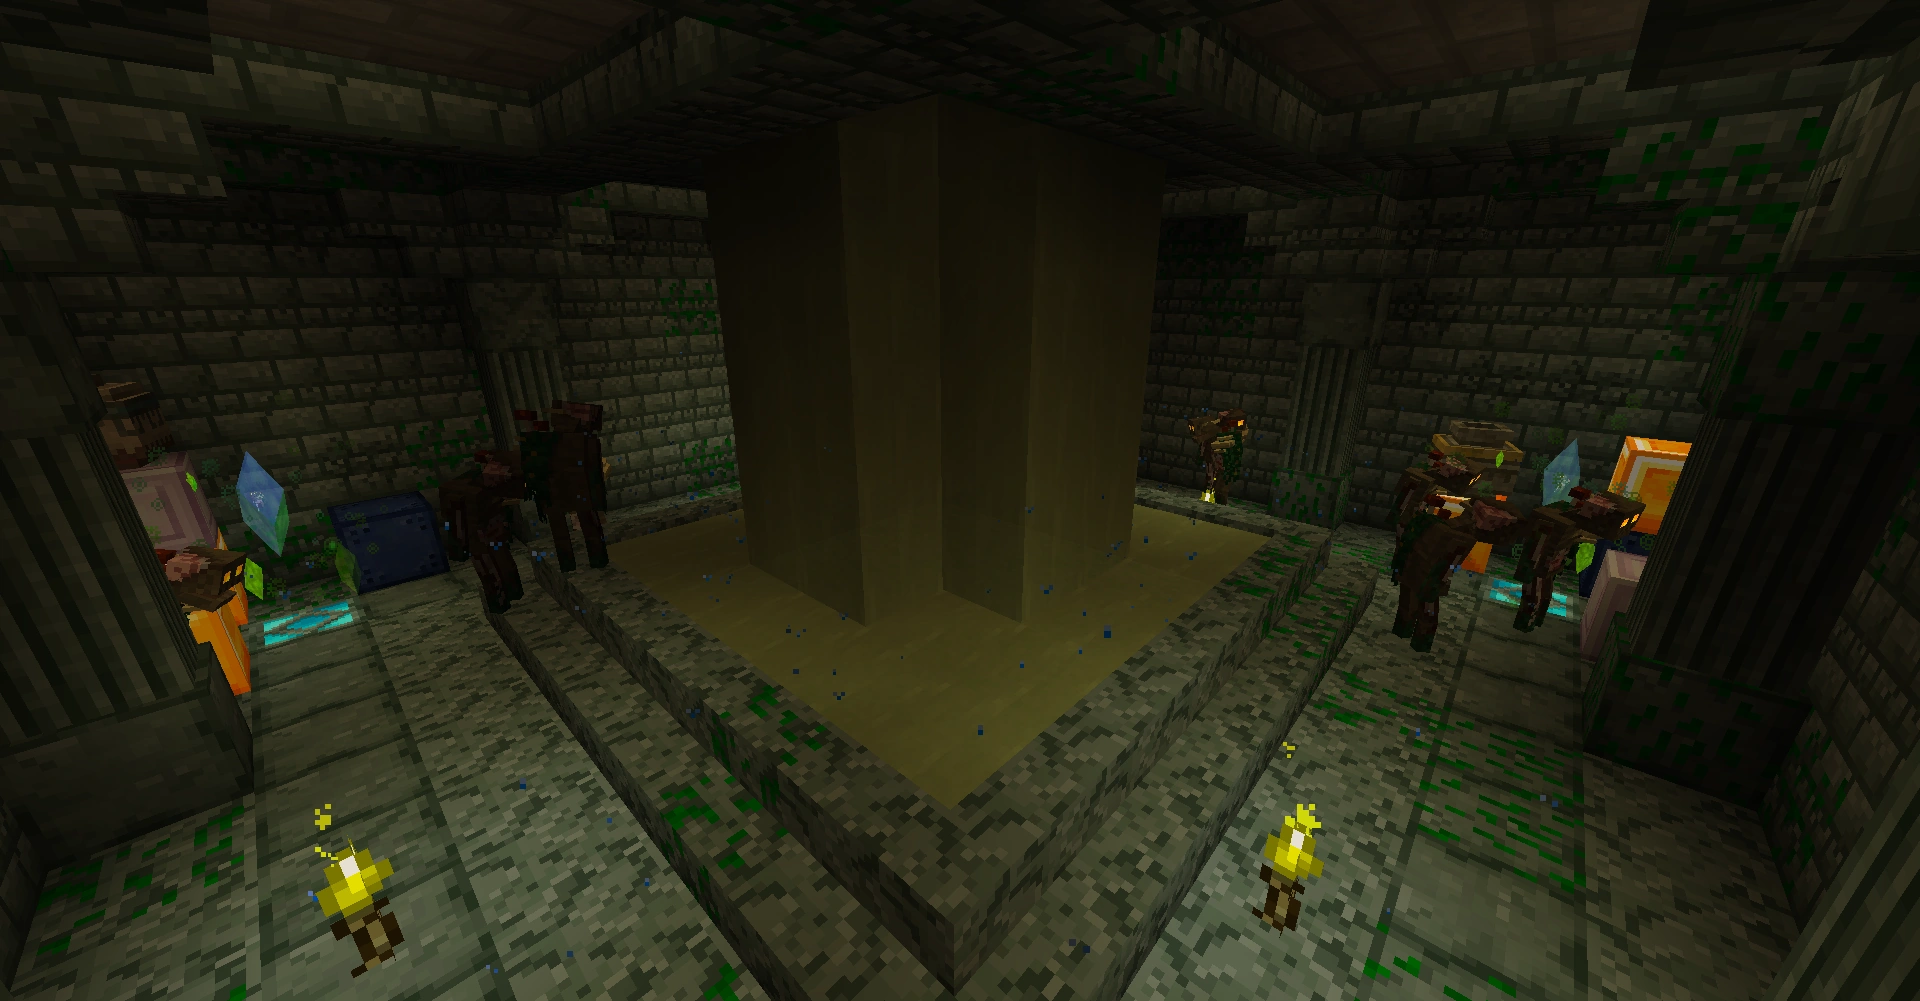 |
Mobs[]
The Monster Spawners on the first floor of the Wight Fortress are capable of spawning Swamp Hags or Chiromaws. The spawners on the second floor always spawn Pyrads, the third Termites, the fourth Wights, and the fifth Chiromaws.
Loot[]
Wight Fortress Pots use wight_fortress_pot as their loot table, and Chests use wight_fortress_chest.
Advancements[]
| Advancement | In-game Description | Parent | Actual Requirements | ID |
|---|---|---|---|---|
Enter the Stronghold |
Find a Wight Fortress | Dank World | Enter the world location of a Wight Fortress | adventurer /enter_the_stronghold |
Sounds[]
wight_fortress_ambience: fortress_teleport:
Video[]
")
History[]
- Beta 3.5.0:
- Pot loot table changed from dungeon_pot_loot to wight_fortress_pot.
- Chest loot table changed from dungeon_chest_loot to wight_fortress_chest.
- Release 3.4.0: Now appears on Amate Maps with an icon, including a check mark upon completion.
- Release 3.3.0: Added Advancement.
- Beta 2.0.0: Guard protection system replaced with a new block protection ward.
- Beta 1.0.2: Increased required warnings for block protection guards.
- Beta 1.0.0: Introduced.